

Въведение в EV3 контролера - LEGO Mindstorms брикът
Нека да разгледаме брика - LEGO Mindstorms EV3 Intelligent Brick. Умната LEGO тухличка.
EV3 брикът е главният компютър на вашия робот. Той има екран, бутони и различни портове.
- #350
- 23 Jan 2017
Нека да разгледаме брика - LEGO Mindstorms EV3 Intelligent Brick. Умната LEGO тухличка.
EV3 брикът е главният компютър на вашия робот. Той има екран, бутони и различни портове.

Here is our solution for preventing torsion and bending of the LEGO Mindstorms EV3 axles.

Before moving forward here is the simple task of building the mechanism and extending the legs. Extend the legs to fifteen LEGO units.
We will introduce a convention, an agreement, how and in which cases we are going to use each types of blocks.

How to align the wheels and how much should you push for this solution?

Нека се научим да използваме блокчето на звука.

What is the end result? - have the attached on the mission model. What is the mechanism the would make the robot hang on the mission model.

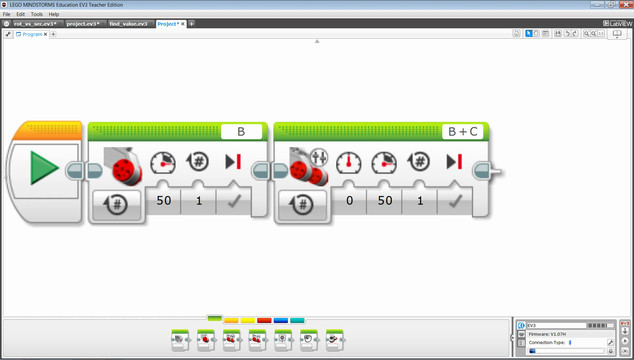
Ще ви покажем и друг начин да програмирате робот да се движи назад.

There were a few problems with the 40 teeth gears that we were using. Let's list some of them

В EV3 софтуера за програмиране има Танк блокче за движение. То ни позволява да задаваме различни мощности на всеки мотор.
В живота подобно нещо се използва при автомобилите. Системите за управление на сцеплението с пътя (tracktion control) предават различна мощност към всяко колело на автомобила, така че колата да остане стабилна на пътя и да не поднася.

Building a rack is a very important skill during competitions. You should try to build one, learn how to use it and have it as a tool for you next robots. But for this particular BoxRobot, we will not continue with a rack.

The most stressed wheel in our system is the driven wheel. We've already fixed the problem with the driving wheel of the scissor mechanism and now it is time to look at the drive LEGO Mindstorms wheel.

Think of an attachment that leaves the Gecko on the mission model. Don't use the robot attachment that we already have. Just the box robot and the gecko. Nothing should support the Gecko when it is hanged on the mission model.

Ще разгледаме типичните причини защо роботът ви изобщо не иска да се движи.

In this tutorial, we add another mission to our current program. This mission is - hanging the Gecko from the FIRST LEGO League Animal Allies.

Преподавателят трябва да се старае да обогатява речника на учениците си при всеки удобен случай.

Use any blocks that you wish to solve the following task.

Once you start turning how to do you a whole 180 degrees turn. The robot almost does it, but not completely

Here is the task for adding a beam on both sides of every gear wheel in your attachment.

Experiment with changing the orientation and direction of gear wheels. Here are part of the tasks that you should complete before moving forward with the course.

Съвети и често срещани грешки, когато трябва да свържете две греди.

Какво трябва да знае всеки преподавател, когато дава задачи на ученици.

So far we know how to make a turn in an arc, just like the real cars do.
Today we will see what other options our robots have for turning.

Бележки за построяването на Петминутен робот.

Най-добрият начин да пускате програмите си е от менюто с проекти и сега ще разгледаме това меню подробно.

We calculate the number of rotatios when a gear system is involved. The driving wheel will have to do a number of rotations for the driven wheel to rotate to a desired number of degrees. In our specific case when the driven gear wheel is rotate to about 90 degrees the legs will lift the robot.
