In this mission Nightbeast team doesn't use an spacer. They align their robot with the attachment on the lines that are drawn in the base. That is not a good practice and it's very possible to have a big error while the robot is moving. Then how is it working? After the robot get out of the base it makes moving forward, but after that the robot is aligned by the wall. So they align the robot again, but this time out of the base.
The Attachment
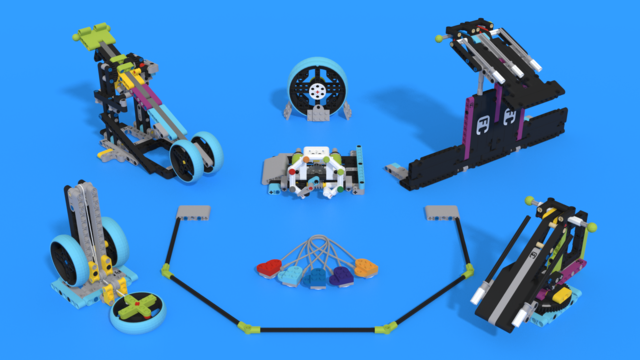
In this run there are three different missions that are solved, so on the attachment there are three things that are very important. So there are three things that have to be prepared for the run. First the hook for the crater crossing must be loaded with the wheels, the Regolith Core Sample must be loaded in the mechanism on the right side and the last thing is to load the meteoroid (the ball) in the shooting mechanism.
Actually there are three important mechanisms that we'll look closer. The first one is the Crater Crossing Hook. There is a "hook" which holds two big wheels, the secret here is that they have a steel ball between them. The wheels are placed on a ramp so the "hook" doesn't push them, it just holds them not to fall before the needed moment. When the robot goes to the Crater Crossing mission model the hook is moved so it release the wheels which fall and moves the fence of the model. If we look on the right side of the robot in that moment, we'll see that it makes the 3D Printer mission. It's an attachment that is called passive attachment. Which attachments are passive ? The attachments that are activated or moved without motor. How actually it works? As you can see there are two things that points forward - the first one from the bottom side and the other from the upper side. So when the robot goes to the mission model, the bottom element is pushed back. But it's connected to the upper element and they are fixed in a point in the middle. So when the bottom element is pushed back, the upper element goes forward. In front of the upper element there should be placed the Regolith Core Sample. So the upper element will push the Regolith that it will fall in the 3D printer and the red brick will be out. Another important thing here is that when you place the Core Sample in front of the upper element it should be locked with the rubber elements on both sides of the Sample.
The third little mechanism is the one that shoots the meteoroids. Actually it's very simple mechanism that holds the ball, and there is a gear wheel with a lever that pushes the ball. Because of the pressure from the arm that holds it, the ball is hold in the mechanism and when the powers of the push gets bigger than those which holds the ball is shoot. The tricky thing here is to use the second motor of the robot. Till now (Run 1 and Run 2) the robot uses only one motor for the attachments, here there is a mechanism that needs the second motor.
The Program
Let's look at the program. First there is a movement of the motor D, that moves the "hook" so that it can lock the wheels and hold them tight. Then there is a movement forward and to be sure that the robot is in the right direction, the team aligns it to the wall. They just go back, push the robot toward the wall so the robot is perpendicular to the wall. After that the robot goes forward and stops in front of the Crater Crossing model. Robot makes "Accurate Turn " again and now it moves forward. The lever for the 3D printer is activated, and motor that holds the wheels, moves up, so they fall through the barrier model. Then the robot goes little back, does again the "Accurate Turn" and shots the ball with motor C. At the end just goes back to the base.


