How to approach that fun relief task.
- #428
- 20 Apr 2017
- 3:02
Set time limits
Don't let the students build for two long and too much.
Set a time for the building part. Giving about 20 minutes for building is a good balance between creativity and productivity. Otherwise, students will get carried away.
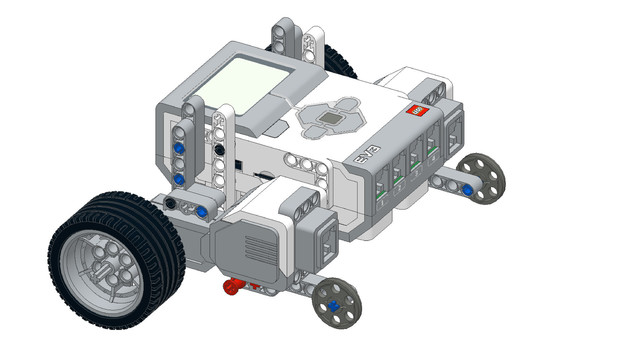
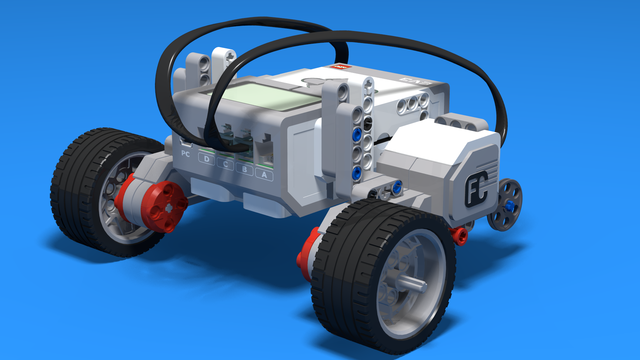
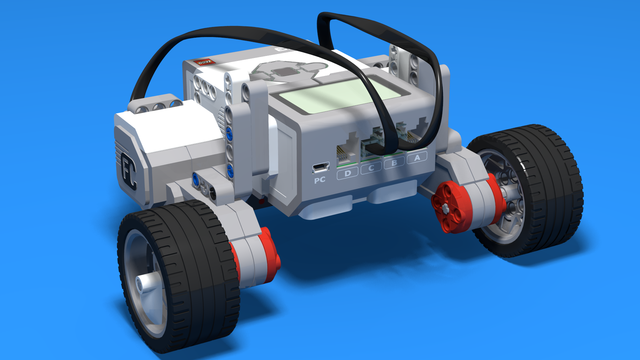
The goal is to have something that could just hold the smartphone.
Is spying a good thing
You as a teacher can take the opportunity to discuss the moral implications of spying and its pros and cons.
Free to experiment
Then experiment with programming.
Extend the task based on your classroom and how the robot could move in it. Use the material so far - moving forward, backward, and three different types of turns: pivot, spin, and arc.
English
A note for the teacher when building the Camera on wheels Robot. This Camera on wheel task is a fun relief task. And when you try to do it it has two parts. First, building some kind of a construction that can hold the phone and then programming. When building with a group of students always set a limit to the time. Don't let them build for too much. You can let them build for 10, for 15, for 20 minutes but building for an hour for a simple construction that can hold the phone is way too much. So, set a limit and try to keep this limit. Try to make it transparent to the students that there is a limit and if they are not ready, they cannot continue and they should try to be ready at 20 minutes or 30. There are different students at different ages so you should consider this depending on your group set the time for constructing. Next, we call it a Spy Bot, a Spy Robot, a Camera on wheels and you can use this as an opportunity to discuss with students spying in general. There are different moral implications when spying and beforehand it is a good idea to discuss this with the students. Of course, if you are doing this at home, it's much easier but if you are doing it in a class and you program actually a robot that moves to another room with a camera and you take pictures with this camera, there are moral implications. For programming, when you finally place the camera on the robot modify the task depending on your classroom on your room that you are doing the classes. And you can always extend this program and modify it a little where exactly you go, what kind of turns you make. The goal is to move forward, backward and to do different kinds of turns. But the specific sequence is something that you can leave to the students. Just set the task as a whole. Move from here to here, take some pictures and return. And leave the details to them. And they'll come up with different solutions which is not bad and these different solutions will have advantages and disadvantages but you can leave them to come up with different solutions. No need to specify each of the blocks just the broad idea - from here to here and this path must involve different types of turns so that they could experiment with them and they could try them. But leave them as a broad idea. And the details will be filled by the students.
Courses and lessons with this Tutorial
This Tutorial is used in the following courses and lessons

EV3 Phi. Introduction to robotics with LEGO Mindstorms
The things that you will be able to do with your EV3 robot by the end of this course are:
Freely move your robot towards desired target;
Avoid obstacles on the path of your robot using sensors;
Follow lines of any shape;
Detecting and picking up objects of any kind;
- 92
- 220:20
- 36

"Camera" on wheels
Let's put everything that we have learned so far into practice. Let's make a spy robot!
- 2
- 0
- 2
- 3d_rotation 0

Level A1. Introduction. Robotics with LEGO
Introduction to robotics - The first level of the Robotics with LEGO curriculum for students in second, third or fourth grades. A journey in space, with robots. Various constructions with robots are built. Learn how to control the motors so that the robot navigates around the Sun, the Moon and Earth in various ways. Getting to know the first of the sensors. The robot can feel its surroundings with the help of the Touch sensor and avoid obstacles.
- 142
- 133:42
- 187

Lesson 4 - Lap around the Moon
Introduction
Today the robot we are building is a spaceship once again. The aim for today, however, is exact - to reach the further (dark) side of the moon!
Where is located the dark side? Why is it so hard to be reached? Why is it called "dark"?
- 13
- 4
- 5
- 3d_rotation 1