
Treasure hunt EV3-G program without arrays. Possible, but not recommended.
EV3-G program for the treasure hunt competition of the World Robotics Olympiad
- #cg42eu
- 10 Apr 2016


Without the use of any motor, you can still accomplish a number of missions using passive attachments. You can still pull/push on different levers using only a beam or two connected to the frame.

In this video we discuss how do we transfer power from the motors that are "inside the robot box" to the gear wheels that are "outside the robot box".

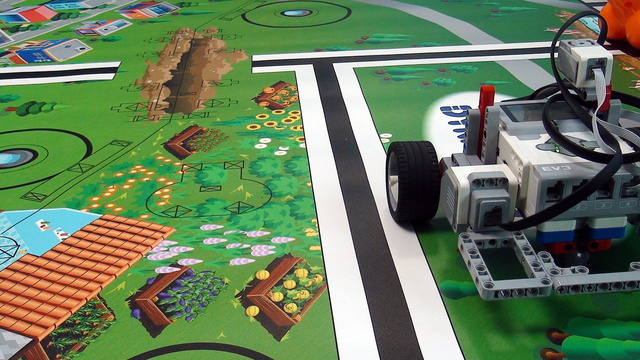
Cable management is very important on each competition. Cables could get in the way of attachments, levers, different wheels and so on. Brick accessibility is also very important. Do not forget that the brick should be charged from time to time and that you should also be able to access the buttons.

This is a third example for adding an active attachment. This third attachment is now connected to the wheel at the front of the robot. Again, the attachment could be easily extended.

Showing the same run, but from a different angle. This allows you to see more of the way we sensors work and how exactly the robot positions itself.

The challenge for this video is to program a menu that is controlled from the LEGO Mindstorms EV3 brick screen.

This is the first Active Pinless Attachment for the Box competition robot. The attachment is placed on the top of the robot and is controlled by one of the motors.

Improving the construction for the World Robotics Olympiad missions. The improvement is in the position of the sensor and the size of the balls container.

Second active pinless attachment for the robot construction. It is placed in the top/right corner of the robot and includes an interesting gear system for transferring the power. The attachment is suitable for complete rotations.

We should how to build a frame that could hold the attachments for specific competition missions. This frame is added in a pinless manner. This means very fast and easy without any glitches of the pins.

One more example for an active attachment with a system of gear wheels. This time the system is constructed so that the attachment could lift heavy objects.

The robot works on the field and decodes the different colours that represent the rows and the columns.

Here we start with a second box robot that we would like to build. It is in a way improvement to the first robot and we would take a look at its features.

Robotics competitions with LEGO Mindstorms robots are very popular. One of the more popular types of robot constructions that are build for such competitions are the so-called "Box Robots". In this course we are gathering a series of videos on this box robots along with building instructions and recommendations of improvements.

After the first box robot course and its enormous success, we decided to build a second box robot. This time with fewer parts and with only three motors. The EV3 set comes with one medium motor and this robot will be easier for new teams. It is also lighter and more simple. Take the course and learn the ideas that we have in mind in simplifying a robot. Use this course with students and try to experiment to make the attachments and construction even simpler.

LEGO Mindstorms Robot Base for a high placed attachment for containing ping pong balls. It is interesting how the balance is achieved with such an attachment. It was only one of the version in a series of LEGO Mindstorms Robots for World Robotics Olympiad.
One of the most controversial topics when it comes to LEGO Mindstorms robots is how to make them move in a straight line. This is a problem that has caused a lot of confusion among teachers, parents, rookie teams and students. The robot makes about 2-3 centimetres error for every meter, which is about an inch for every 3-4 feets. In this course, I would like to discuss the different ways in which you can improve the behaviour of the robot and how you could make it move in a straight line with the help of the LEGO Mindstorms EV3 Gyro Sensor.
There comes a time when you need to program the robot to "follow a line, but if another sensor detects something you would like to stop, do some work, and then continue following the line". This is applicable to competition robots as it is applicable to real-life robots.
There comes the State Machine Pattern. An advanced and very powerful concept that allows you to easily implement complex robot behaviours with a simple, well-organized, extensible, bug-free program where the robot could be in 1,2, 10 or 100 states and you will still be able to manage the complexity of the world around the robot.
