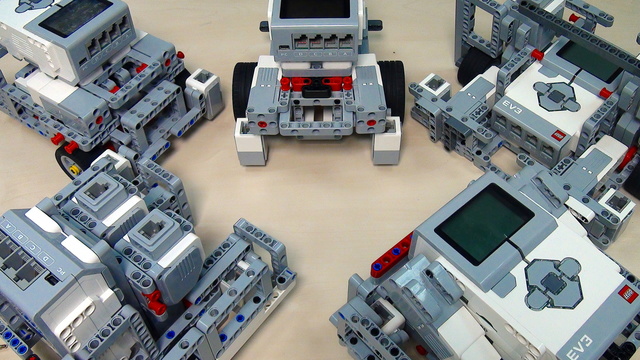
In this video lesson I will show you how to follow a black line using just one sensor, but fast enough so that you could use it during any robotics competition without wasting any time.
- #31
- 20 Jul 2013
- 6:34
- LEGO MINDSTORMS NXT
- Line follow, FIRST LEGO League, Line following, EV3-G, Advanced, Light and Color Sensor, FLL, Programming
Mentioned Episodes:
Here is a list of episodes that might be useful to watch. The following videos explain things we use in this tutorial:
-
How to build a LEGO Mindstorms Competition Robot - You could find the instructions for building the robot used in the tutorial.
English
In previous tutorials we have covered the topic of following a black line. Today we will talk more about following a black line with one sensor. A common way to do this is this way. But this way is kind of slow.
Today I will go you through the program I have used in the previous episode. To follow a Black line with one Sensor using five states, and it looks like this. It is way more faster as you can see.
The first thing we need to do before we start programing is to calibrate our Light Sensors. You can find more on this topic in episodes 11 and 14. So now I have downloaded a calibration program to the brick. And I will start it. So fist I will set the min value which is actually the value of the Black line and it is somewhere around 340. Okey and now the max value which is the value of the White which is 600. Okey so I have our Sensors calibrated so we can start programing the robot. As I said in the beginning we will use the MyBlock we have used for solving the Cardiovascular and Strength Exercise missions in the previous episode.
So we have the Light Sensor on port 3 which we will use for following the Black line. And as a condition of the loop we have the Light Sensor connected on port 2. So actually we will follow the Black line until we detect the Green line with the Light Sensor on port 2. You can download this MyBlock and modificate the condition of the loop so it feels your needs. Okey so what is the difference between this following of the Black line and the regular one?
In the regular one we actually follow the line which divides the Black line and the White space. Here we divide the values we get from the Light Sensor in five ranges each with length 20 units. And if we get away from the Black line. So if we are in range which is far from the Black line we start moving one of the Motors faster. Actually what is going on is that the wider we are from the Black line the faster we make a turn. And the closer we are to the Black line we are closer to moving in a straight line. Which actually is giving the speed of this algorithm. So the program is we take the value of the Light Sensor divide it by 20 so that we get a number from 0 to 4. And in each of the cases we use a switch block which has five cases each with a number from 0 to 4. And in each case we modificate the power of the corresponding Motors accordingly. So when we are for instance on the default case we are on the Black line so both Motors move forwards at 100% power. But when we are away from the lack line either Motor B is moving than Motor C or Motor C is moving faster Motor B. So it really depends in which range we are. So the program is simple. But the main things are that we must calibrate our Sensors and we divide the values in five ranges. Actually the program can be faster and more precise if we let's say divide the values in 10 ranges. And so on. So you can try this on your own. Now let's run once again the program.
As you can see the correction that the robot makes is always more than when we use the regular algorithm for following a Black line. This difference between the two algorithms means greater speed for the robot. And during the competition this can be really useful. So hope this could help you. Find more useful tutorials at fllcasts.com
Курсове и занятия включващи този Урок
Този Урок е използван в следните курсове и занятия.

FIRST LEGO League Competition. Constructing and Programming a Robot Base
This course if used by teams, mentors and students to structure the preparation for the Robotics Game of the FIRST LEGO League Robotics Competitions. One thing that is common each year at FLL is that experience matters a lot. Our goal with this course is to quickly bring new teams up to speed with experienced teams and to share some new tricks, patterns, constructions with the more experienced teams.
- 42
- 249:53
- 10

Simple following and aligning to lines and borders
Before looking at the way we do follow lines first we have to make sure the light/color sensors are covered. The next video is a classic NXT light sensor covering, but it also applies directly to EV3.
- 11
- 5
- 1
- 3d_rotation 0
