In the video we improve on the robotics mechanism for pushing the different blocks out of the robot container. We continue from the previous video.
- #219
- 10 Jul 2016
- 4:40
- LEGO MINDSTORMS, LEGO MINDSTORMS EV3
- World Robot Olympiad 2013 World Heritage, World Robot Olympiad, Attachments, EV3, WRO 2013, WRO, Construction
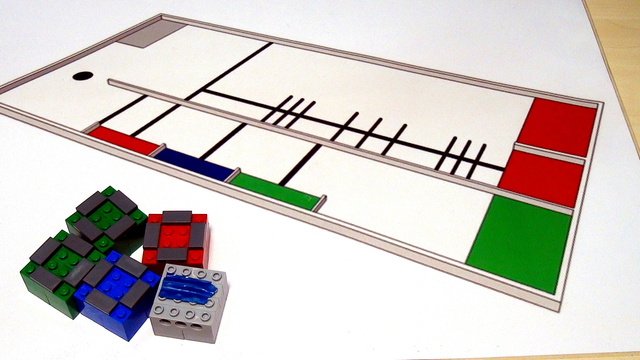
The lever should be extended. Teams and students try to extend such levers and then face the problem of the lever pushing not only the blocks, but the whole container.
English
Previously we got stucked with our rotating mechanism here with the lever and in this video we'll improve on this mechanism.
I would remove the 7-Hole Beam that we added here and I'll replace it with one that is 5 holes long.
And I have one here. Like this. And now we attach this to the robot. And as you can see now it can make a full rotation around the axle. So it can rotate without getting stuck. And this is just because we added a 5-Hole Beam. Now we add the lever here. And let's start the program again to see what happens with more power.
There is now another problem in our mechanism. We managed to extend it but something else happens. I'll try to run the motor more slowly and
let's do this again so that you can see it.
Again. What happens is that now when we have extended this lever here the beam that is a 5-Hole Beam it reaches to this black element and pushes on this black element here. And this will push the whole mechanism and it won't be a stable way to throw the blocks. Again. So yet, another problem. Let's look for a way to solve this other problem. We have a mechanism that is attached to the motor and it consists of two levers. First we have this part of the lever and then this lever. And we are trying to extend only one of the levers. But we can also try to extend the other lever. And we can do this in the following way. You can see that on the motors we have these beams attached and they are 4 holes long. And because they are 4 holes long we can extend them with a 5-Hole Beam. This, that is longer. The problem is that for these parts we can attach an axle to them. And we can rotate them. While on the beams we can't attach an axle. So what I'll do is to add the mechanism in the folowing way. Like this. And with a few pins. I'll take one of the pins here
and now we can attach this to the axle. Like this.
And then attach the 15-Hole Beam to the construction.
And now let's hope that we have successfully extended the whole mechanism so that we can rotate and push on these blocks. Testing this. Starting the motor with a larger power.
And this one was successful. Again, the next one.
So we have extended our rotating mechanism and we have extended one of the levers. There are a couple challenges for these mechanisms below the video. Check them out and we'll continue in the next video with the other parts of this robot.
Courses and lessons with this Tutorial
This Tutorial is used in the following courses and lessons
World Robotics Olympiad (WRO) 2013 Elementary. Review of solutions with explanations
Presenting a sequence of videos, materials and programs for accomplishing the WRO Elementary 2013. We present arrays, menus, counting colors and many more.
- 11
- 57:48
- 0

Extending circular lever. Arrays, Lines, Menus
In the video we improve on the robotics mechanism for pushing the different blocks out of the robot container. We continue from the previous video.
- 1
- 0
- 0
- 3d_rotation 0