Introduction
Today’s lesson is inspired by an exciting moment in space exploration - a mission to the Moon. Your robot will act as an astronaut, and you will use an object in the classroom to represent the Moon.
Your robot will travel around the “Moon,” stop at the right moment, and take a picture before returning to its starting point. Instead of a real space camera, you will use a phone set to take photos automatically.
By the end of the lesson, you will have your own mission photo - just like real space engineers who collect data from faraway places.
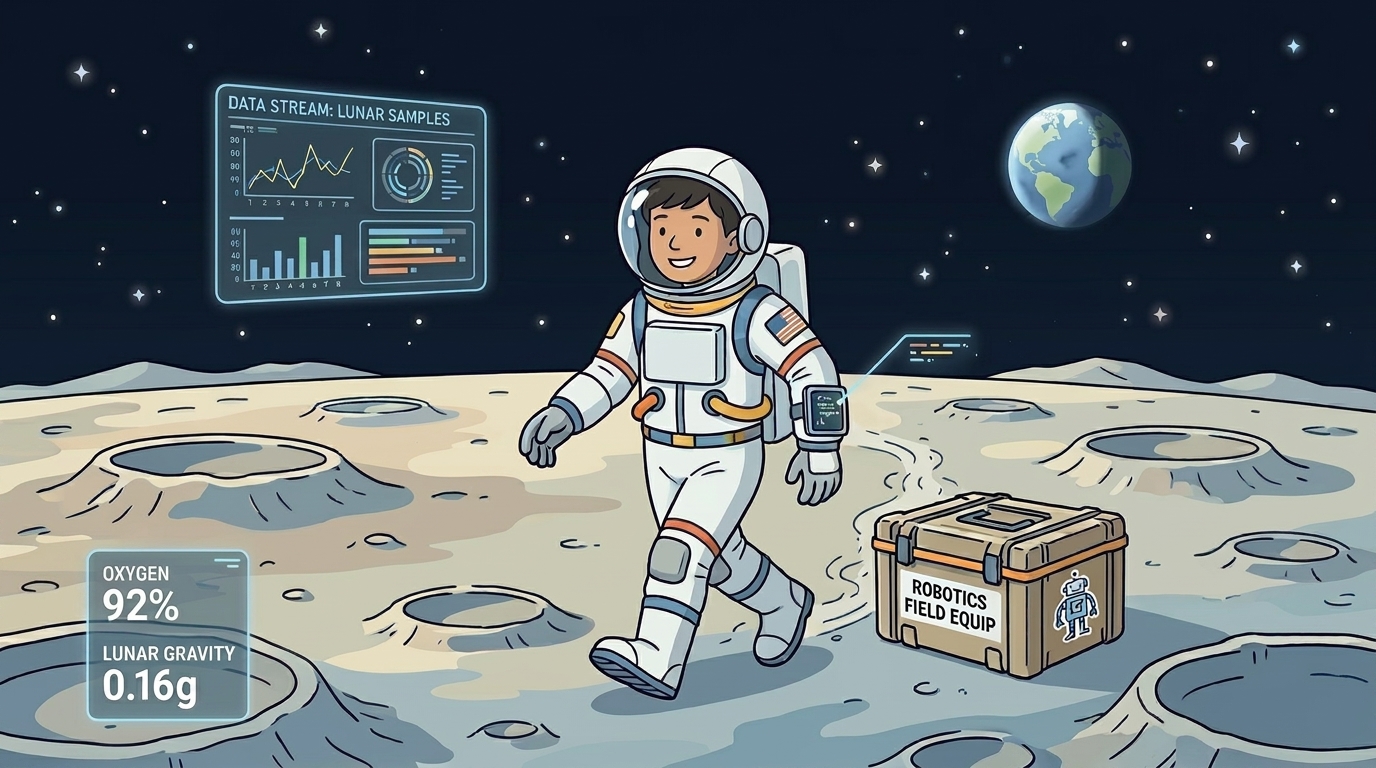
The far side of the Moon
These are the lunar phases we see:

- 🌑 = New Moon
- 🌒 = Waxing Crescent
- 🌓 = First Quarter
- 🌔 = Waxing Gibbous (approaching Full Moon)
- 🌕 = Full Moon
- 🌖 = Waning Gibbous (after Full Moon)
- 🌗 = Third (Final) Quarter
- 🌘 = Waning Crescent
When we look at the sky, especially at night, we can see the Moon. What many people don’t know is that we always see the same side of it.
As shown in the image above, one side of the Moon always faces Earth. You can imagine it like a coin that always shows the same face to us, even though it has another side. This is often called the “far side” of the Moon.
People sometimes call it the “dark side” of the Moon, but this is not correct. Both sides of the Moon receive sunlight. During a new moon, the side facing us is not lit, which is why we cannot see it.
This effect, where the Moon rotates in sync with Earth, is called synchronous rotation.
Luna 3 was the first spacecraft, launched in 1959, to travel around the Moon and take pictures of its far side. The mission faced several challenges - some equipment stopped working early, and the spacecraft experienced a drop in temperature. After circling the Moon, the signal was very weak, so the spacecraft had to carefully point its antenna toward Earth to send the photos before re-entering the atmosphere.
Construction
Today’s robot includes a phone holder, which you will use at the end of the lesson.
Pay attention to which side the holder is on. This will help you decide the direction in which your robot moves around the “Moon.” If the direction is wrong, the robot will face away from the Moon instead of toward it.
Aitken - a LEGO SPIKE Prime Moon Exploration Robot
This robot is named after the South Pole–Aitken Basin, the largest impact crater in the Solar System, located on the far side of the Moon.
Astronauts, get ready to enter lunar orbit! This robot is equipped with a holder for a camera or phone, allowing it to take a picture of the far side of the Moon. If your device does not fit, you can easily adjust the holder to suit your needs.
With its two motors, Aitken can move in both wide and narrow circles around the Moon to capture the perfect photo.


Programming
Today, you will program the robot to move in an arc around the Moon. You will also learn how to break a program into smaller parts, so it is easier to understand, test, and improve.
You will see where to review commands you already know and learn new commands that will help your robot complete the mission.

The "await" command in LEGO SPIKE Python
The await command tells your robot:
“Wait until this action is finished, then continue!”
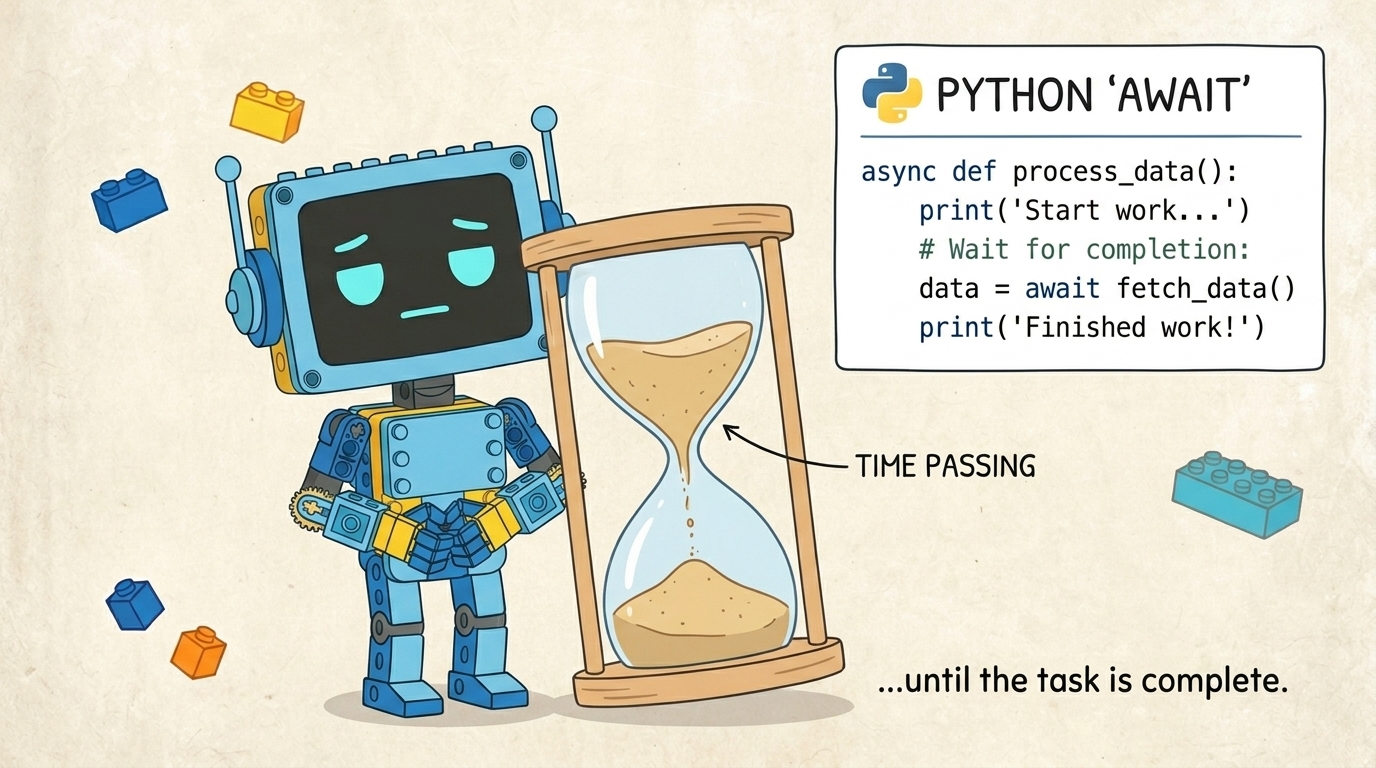
Why use "await"?
- Motors need time to move
- Sounds need time to play
- Sensors need time to read values
Without "await", the robot may move on too quickly and not finish its actions properly.
Important rule
You can only use "await" inside an "async" function.
async def main():
    await motor.run_for_time(port.A, 1000, 1000)
How to use the SPIKE Python API
Here you can find a cheat sheet with the most commonly used commands. There are also more advanced commands that are not included in the built-in API, but the available ones cover most, if not all, of the students’ needs.
Below is an example of a function definition and how to read it:
move_for_degrees(pair: int, degrees: int, steering: int, *, velocity: int = 360, stop: int = motor.BRAKE, acceleration: int = 1000, deceleration: int = 1000) → Awaitable
...
Parameters
pair: int
The motor pair to be used.
degrees: int
The number of degrees the motors should rotate.
steering: int
The steering value (from -100 to 100).
Optional keyword arguments:
velocity: int
The speed of the motor in degrees per second.
...
stop: int
Defines how the motor behaves after it stops. Use constants from the motor module.
...
acceleration: int
The acceleration in degrees per second squared (1–10000).
deceleration: int
The deceleration in degrees per second squared (1–10000).
Let’s take a closer look at the function definition:
The parameters before the "*" symbol are required parameters. You must provide them in the correct order. For example, the first parameter is "pair", so the command expects the motor pair first. The same applies to "degrees" and "steering".
The parameters after the "*" symbol are optional parameters. To change them, you must use their names. This means you cannot just write a number - you need to specify which parameter you are changing. For example:
motor_pair.move_for_degrees(motor_pair.PAIR_1, 360, 0, velocity=280)
Finally, the "Awaitable" keyword means that this command can be used with "await". This allows the program to wait until the command has finished before continuing with the next one. For example:
await motor_pair.move_for_degrees(motor_pair.PAIR_1, 360, 0, velocity=280)
Motor pairs and the "move_for_time()" command
A Motor Pair connects two motors so they can be controlled together. Here is how to do it:
Set up the motors
To create a motor pair, we use the command motor_pair.pair(). Here is an example:
from hub import port
import runloop
import motor_pair

async def main():
    # Pair motors on ports F and D
    motor_pair.pair(motor_pair.PAIR_1, port.F, port.D)
The inputs of the motor_pair.pair() command are:
- First input = Pair number (motor_pair.PAIR_1)
- Second input = Left motor port (port.F)
- Third input = Right motor port (port.D)
The move_for_time() command
This command allows the robot to move for a set amount of time using both motors. Here is an example:
from hub import port
import runloop
import motor_pair

async def main():
    # Pair motors on port F and D
    motor_pair.pair(motor_pair.PAIR_1, port.F, port.D)

    # Move straight at default velocity for 1 second
    await motor_pair.move_for_time(motor_pair.PAIR_1, 1000, 0)

runloop.run(main())
The inputs of the move_for_time() command are:
- First input = Pair number (motor_pair.PAIR_1)
- Second input = Duration in milliseconds
- Third input = Steering value (from -100 to 100)
The velocity parameter is optional. To change it, you must specify its name:
motor_pair.move_for_time(motor_pair.PAIR_1, 1000, 0, velocity=280)
Move around the Moon

In the following tasks, you will program the robot to move close to an object, go around it, take a picture, and return to you.
Challenge guidelines
Take as many attempts as you need - there is no rush or time pressure for this task.
One important rule: do not touch the pole with the robot - make a smooth and clean turn.
Steps
-
Move forward from the starting line.
-
Make an arc turn around the “Moon” until you reach the back side (find the right settings through trial and error).
-
Wait for 5 seconds.
-
Continue the arc turn until the robot faces the starting line again.
-
Move forward until you reach the starting line.
 Tasks to finish a class
- Take pictures and make videos of your robots.
- Turn off the robot.
- Disassemble the robot and return all parts to their places.
- Close all programs on your computer.
- Log out of FLLCasts.
- Shut down your computer.
- Organize your workspace.
- Place the robot electronics on the lid of the box.
- Wrap the mouse cable neatly around the mouse.
- Wrap the laptop charger cable as your teacher shows you.
- After turning off the computer, place it next to the robot box.
- Put your chair under the desk.