What is a Breadboard?
A breadboard is a plastic block full of tiny holes used to build temporary electronic circuits. The name comes from the old days when electronics hobbyists literally used wooden bread-cutting boards, nails, and thumbtacks to wire up radios! Modern breadboards are made of plastic with springy metal clips hidden underneath the holes that grip your wires and components.
The Secret Layout: Rows and Columns
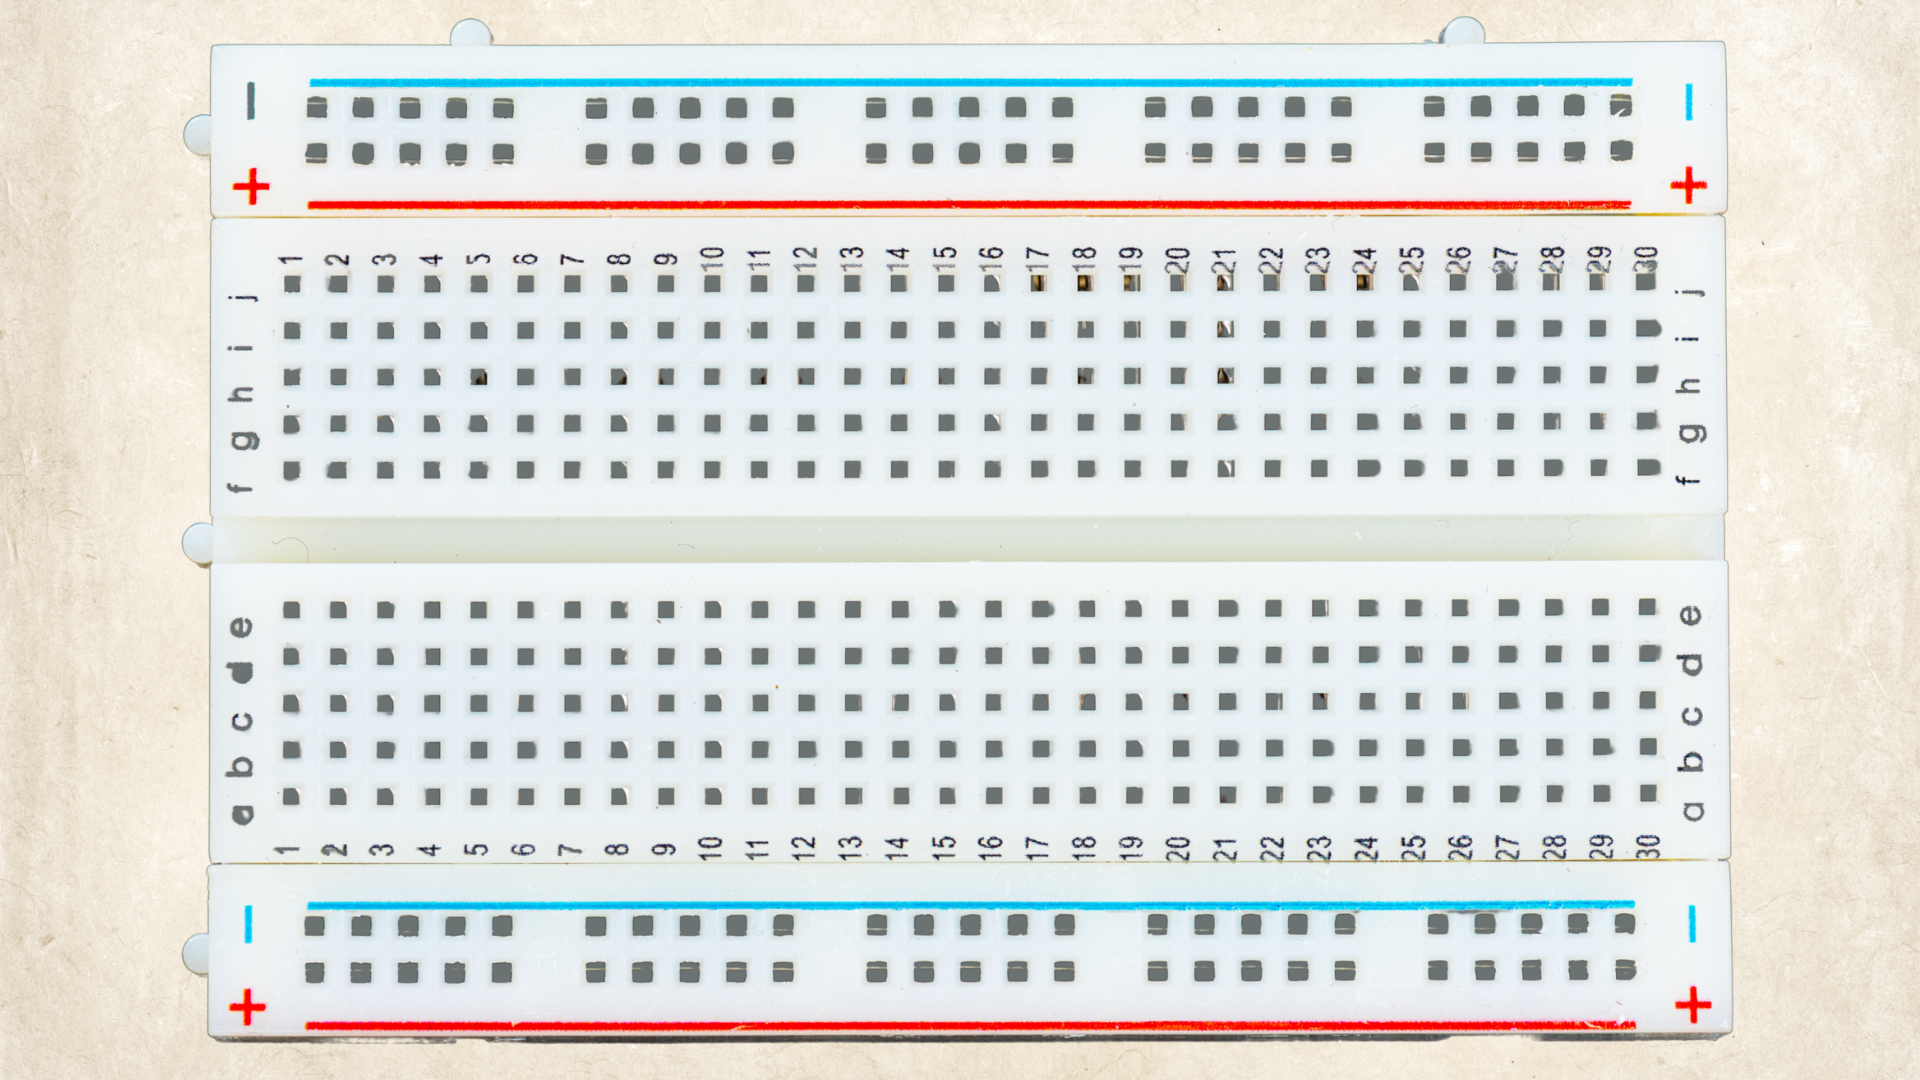
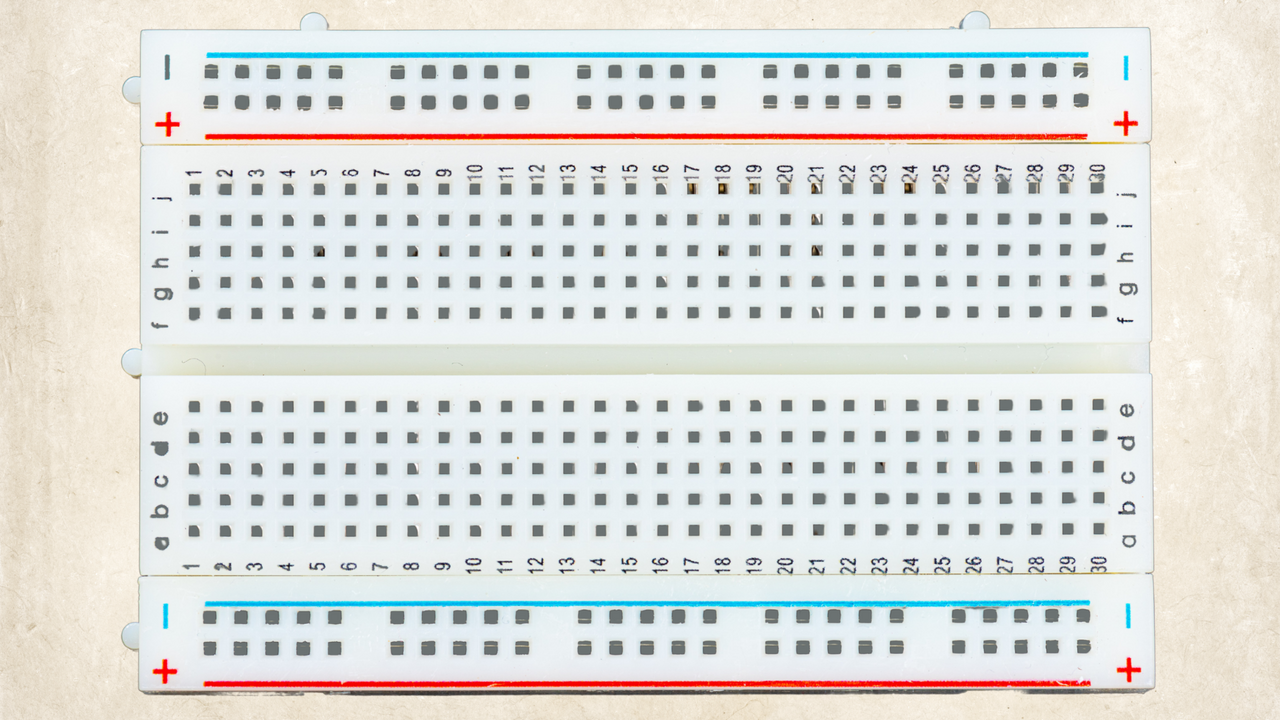
At first glance, a breadboard just looks like a grid of thousands of dots. These dots are connected in a very specific pattern.
The Power Rails (The Outer Edges):
Running down the left and right sides, you will see long columns marked with a red line (+) and a blue or black line (-). These are called power rails. All the holes in a single red column are wired together internally, and all the holes in a single blue column are wired together. You use these to plug in your battery or power supply.
The Terminal Strips (The Center Area):
The middle part of the board is split down the center by a deep trench (called the notch or ravine). On either side of the trench, the holes are connected in short horizontal rows of five (usually labeled with numbers like 1, 2, 3 down the side, and letters A through E or F through J across the top).
Important rule: Holes in row 1 (A through E) are all connected underneath, but they are not connected to row 2, and they do not cross over the center trench to the other side!
Quick Tips for Success
Push it in firmly: Make sure your wires and LED legs are pushed all the way into the holes so they make good contact with the metal clips inside.
Watch the bridge: If you are using a microchip or an integrated circuit (IC), it straddles right across that center trench. This keeps the left-side pins separate from the right-side pins so they don't short-circuit!