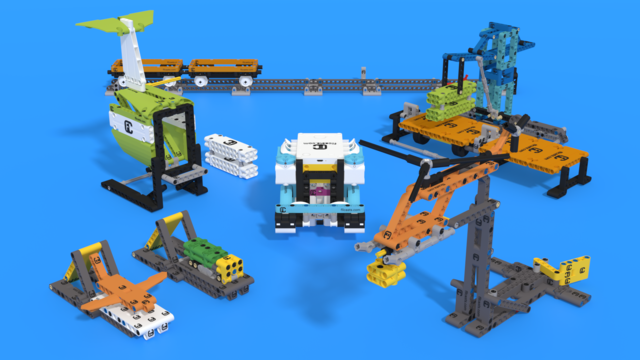
In this video tutorial, we carry, deliver and drop a large object with an attachment that is much more stable than the basic. We get out of the base, and we actually carry the model. This attachment is also auto-correcting as it has a guiding beam at the front, and even when the robot makes a mistake, we can successfully accomplish the mission.
- #2119
- 04 Apr 2023
- 5:14
- LEGO Education SPIKE Prime
- Deliver, Drop, Auto-correct, Align, FIRST LEGO League, FIRST LEGO League 2021-2022 Cargo Connect, Attachments, Scratch, LEGO Education SPIKE App Word Blocks 2
English
In this tutorial, we accomplish the large delivery mission, but this time the complete mission from starting from base to reaching the mission model and placing this large wing on the mission model. And for this we use a much improved robot. It's a LEGO Education SPIKE prime robot with a very powerful attachment and it has a lot of things that are interesting about it and I'll try to share in this tutorial. Again, the goal is to start from base to reach the mission model and to accomplish the mission. Let's see, start the robot moves, reaches the mission model, rotates and it leaves the wing. Let's get into the details. The first important detail for every mission on every competition is how do we place the robot when we start for this particular mission, there are certain lines in the base for this year cargo connect for starting cargo connect field. And in the base, when we start the robot, we must position it so that the black line, the black beam right here is on the line. That's it. We need to position it correctly. The other thing is that we need to load the wing and there is a locking mechanism right there for the wing. And for us to be able to bring the wing to the mission model, we must somehow lock the wing, travel with the wing, bring it to the mission model and then unlock it. And that's the interesting part about this locking mechanism, that it allows us to lock something, but then to unlock it when we need. This is how we lock the wing. And now we can travel. We can travel and we can reach the mission model and we can be sure that the wink will not fall. That's it. When starting, it's important in base to position the robot correctly and to lock the wing.
The next interesting detail is when we reach the mission model and how exactly do we accomplish this? Is the robot a close view of how the attachment works and how we leave the wing. Pretty neat, right? A few interesting things. First, we have these guiding beams. The purpose of these guiding beams is to how to correct our robot. So if the robot is not entirely where it should be because of the programming, we have this hardware attachment that helps us to align the robot to the mission model. So if it makes a small mistake by 2 cm or an inch, it will be able to correct itself and it will align perfectly to the mission model. The next thing is the attachment mechanism itself and the locking mechanism at the top. So as you see, it's interesting. It has two motors. And these two motors, they both work for the attachment. The purpose of the two motors is one of the motors controls the wing when we get to the mission model and the other motor unlocks the locking mechanism. So we have this locking mechanism right here. And when we rotate with the motor to unlock first we control the wing. We bring the wing from the base. Then we rotate like this. This is the first part of the attachment we rotate and after we rotate now we have to unlock. We push back and we unlock the locking mechanism. And now we are free to leave the wing on the mission model. That's it. The locking mechanism for the attachment along with the guiding parts at the front allows us to achieve a very consistent and reliable behavior for this robot. It's one of the really good attachments that we built.
Courses and lessons with this Tutorial
This Tutorial is used in the following courses and lessons

FIRST LEGO League 2021-2022 Cargo Connect solutions and review with LEGO Education SPIKE Prime
In this course, we demonstrate and explain example solutions for the FIRST LEGO League 2021-2022 Cargo Connect competition. Just like every year, we share solutions only after the season is over. In this course, you will find examples and principles of building attachments and will learn how to program consistent and reliable robots for each mission. You can follow the course, and as you go through each mission, try to replicate the solutions to understand the programs and explanations. Upon completion of the course, you will have many new ideas about how to approach the missions in every FLL robotics competition and how to help your team score more points.
Before starting this course, we suggest you go through the FIRST LEGO League robot game guide
- 55
- 181:18
- 34

M12. Carry, Deliver and Drop large objects - Large Delivery Advanced
In this video tutorial, we carry, deliver and drop a large object with an attachment that is much more stable than the basic. We get out of the base, and we actually carry the model. This attachment is also auto-correcting as it has a guiding beam at the front, and even when the robot makes a mistake, we can successfully accomplish the mission.
- 3
- 1
- 2
- 3d_rotation 3