What is an LED?
LED stands for Light Emitting Diode. A diode is a one-way valve for electricity: current can only flow through it in one direction. When current moves through the semiconductor inside an LED, it releases energy in the form of photons (light).
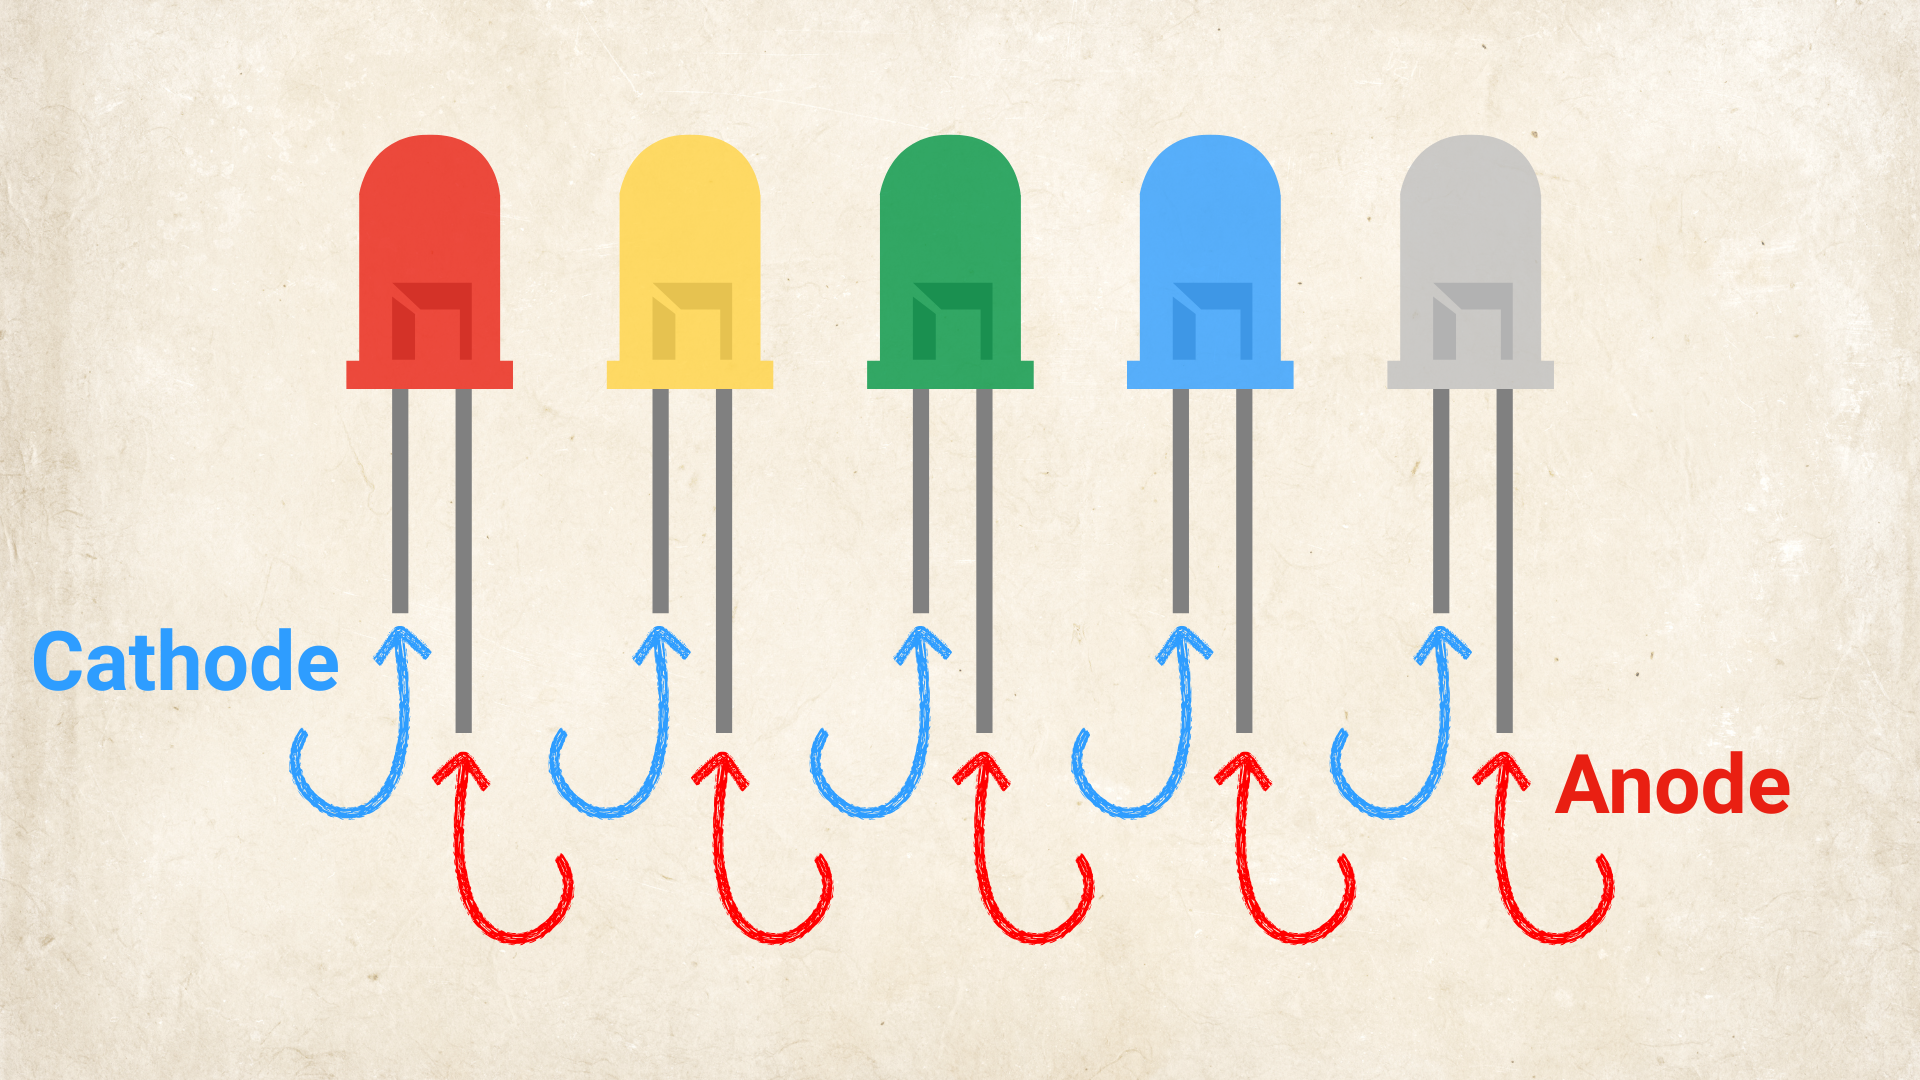
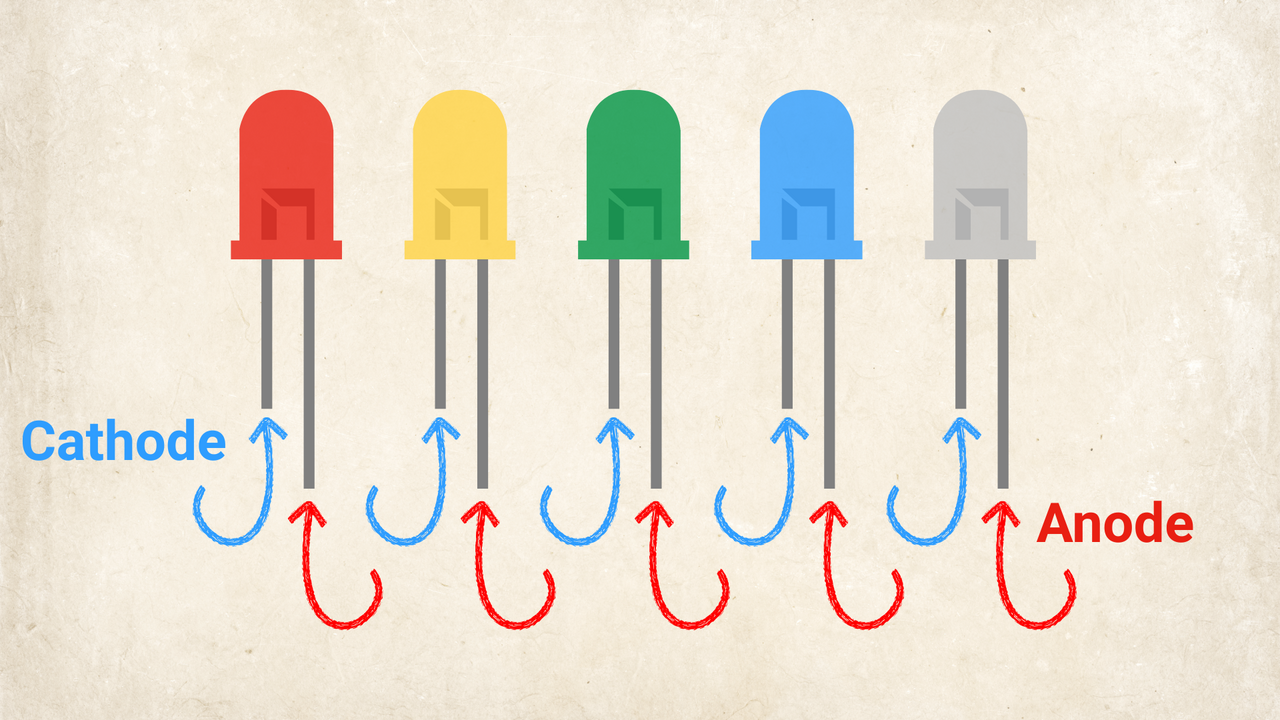
Direction Matters: Anode vs. Cathode
Because electricity only flows through a diode one way, plugging an LED in backward prevents it from lighting up.
Essential Circuit Rule: Always Use a Resistor
LEDs have almost no internal resistance. If connected directly to a battery (like a 9V or 5V pin), current will surge through the LED instantly, causing it to overheat and burn.
Always place a resistor in series (on either the anode or cathode side) to limit the flow of electrical current.
For a typical 5V circuit and a standard LED, a 220Ω (ohm) or 330Ω resistor provides safe brightness without burning out the bulb.
Summary Checklist Before Wiring
Find the longer leg (Anode / Positive).
Find the shorter leg (Cathode / Negative).
Put a resistor between the LED and your power source.
Flow current from Positive → Resistor → Anode → Cathode → Ground.