All green movement blocks have several settings in common:
- power to rotate the motor/motors
- duration of rotation
- brake at end
So far we have discussed only the first two settings. Now we will focus on the third one and see what it is used for!
All green movement blocks have several settings in common:
So far we have discussed only the first two settings. Now we will focus on the third one and see what it is used for!

You have most probably seen this option which comes last in the line of the green movement blocks. 
As you can see from the picture, the brake at end setting allows for two suboptions – Brake or Coast.

So far we have mainly used the first one – Brake. By choosing this option, the motor stops immediately after the movement block is over. If, by any reason, the motor is further than it should be, the setting gets it back. Even if there is no command for further movement, the brake keeps the motor blocked which means it cannot be rotated even by hand (you can try that :)). This option is really useful when we want to build accurate robots. For example, if there is a sequence of rotations or degrees, which the robot should follow, choosing this setting guarantees the most accurate performance possible.

Coast is the new setting, at least for most of you. By choosing this option, the motor continues rotating even after the movement block is over. The same principle applies to situations when we leave a car stop without using the brakes. The car will keep going due to inertia. Moreover, the motor can be rotated after the movement block is over and we can turn it by hand (you can try that). The coast option is used when we want the robot to be driven by an external force.
This Tutorial is used in the following courses and lessons

This is the seventh level of the Robotics with LEGO curriculum for students in third or fourth grade.
In this level students focus on the rotational sensor that is part of every motor in the robotics set.
Robot constructions imitate animals and their behavior. Students create programs that check whether the robot's claws or pecks have successfully caught an object. That sensor in the motors allows the robots to go back in their lairs even after the use of unlimited movement.
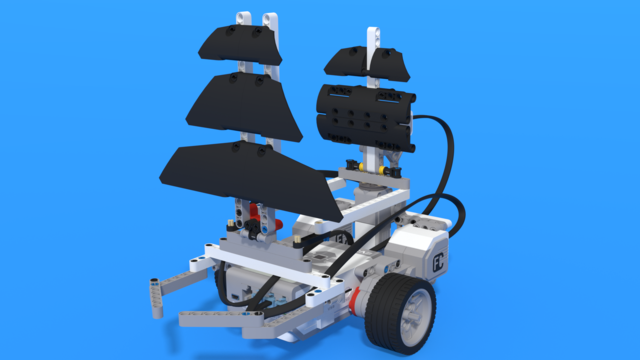
In this lesson we will introduce another sensor. This sensor is very interesting as we have already used it many times without even realizing it. The robot we are going to build today resembles a clam. Have you ever seen clams? Have you seen live clams or only cooked ones? Or have you only seen shells?

The fourth level of the Robotics with LEGO curriculum for students from fifth to twelfth grades.
In this level students focus on the rotational sensor that is part of every motor in the robotics set. Students also learn to use the fourth sensor in the robotics set - the gyro sensor.
First few robot constructions imitate sea-animals and their behavior. Students create programs that check whether the robot's claws or pecks have successfully caught an object. That sensor in the motors allows the robots to go back in their lairs even after the use of unlimited movement. The rest of the robots are modeled after boats, yachts, and ships. With the help of the gyro sensor, students can set a course for their robots to a given angle and can detect deviations from the course. In open seas, there may be sea-monsters and the robots are being programmed to detect a sudden change in acceleration with the help of the said sensor.
