In this video tutorial I give a step-by-step explanation of how to implement a block for aligning to a line. The block was first used in lesson 28. Aligning to lines is probably the most powerfull way to know the position of the robot on the FLL Competition field and to be able to execute the missions precisely at 100% of the time.
- #29
- 06 Jul 2013
- 10:30
Mentioned Episodes
This block is heavily used in lessons:
Building instructions:
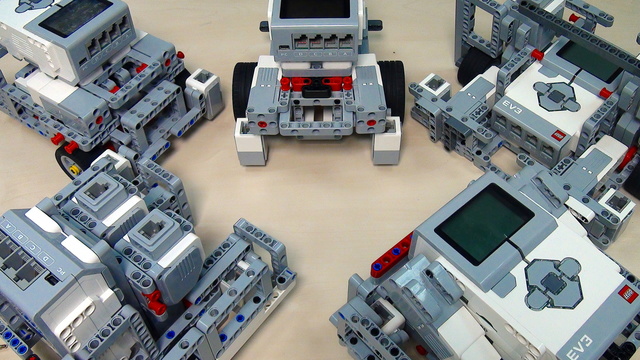
You can find the instructions for building the robot in Episode 13.
Align With Direction For Record
- source code of the block written in NXT-G. Download, directly import it and use it in your programs. Never ever miss a line.

![]()
English
In our last video we solved some of the First Lego League Senior Solutions missions. These were the WOOD WORKING the GARDEN the SIMILARITY the BALL GAME and the STOVE We were using a block for aligning to green and to black lines right here. And as I promised you in this video we will go into details of how this block works, how it is implemented and what are the details of aligning to a line.
First we have to add some definitions. If the robot is moving in a forward direction - the motor on the left, the one here is motor B and the motor on the right, the one here is motor C. The light sensor on the left is attached to port 1, and the light sensor on the right is attached to port 3. Our first task is to make the robot move to the right until sensor 1 reaches a green line. We can do this with moving motor B unlimited until the light sensor on port 1 reaches something that is below 50, and after it reaches something that is below 50 motor B should stop. Let’s see how the program works.
As you can see when the sensor attached to port 1, the one on the left reaches a green line the robot stops. Now I would like to do the same thing, but with motor C - the one on the right. Let’s do the program, and what is important is that I will do this in parallel. So I will leave motor B and motor C moving in parallel. Motor C moving unlimited until the light sensor attached to port 3 reaches something below that is 50 and then we have motor C stop. Let’s check this program.
As you saw from the last video the robot is not perfectly aligned to the green line. Sometimes this happened with this program. There are other programs that can solve this problem. We will solve it in a more straightforward way. We will just return motor C backward until it reaches the border between the green and the white lines here. Let’s do this. I will open my program and I would like to have motor C moving backward again unlimited until it reaches something that is lighter than 50. Of course these values here they depend on the calibration that you have on the robot. And we even have an another lesson for calibration I recommend that you take a look at this lesson. But let’s return to aligning we are mooving backward until we reach something that is lighter than green and then we stop. And we want to do the same thing with motor B. I will just copy this and move in the other direction. Move backward until we reach something that is lighter than 50. Let’s check the program.
Implemented in such a way the program has one great limitation and it is that the robot is moving only forward and aligning to theline that is in front of the robot. What about if we have a line that is behind the robot and we would like to move backward and align to this line. We will have to add a parameter to this program and could do this in several different ways, but let’s stick to the general one. First we will add a new variable. It is a logic variable and we will attach this logic variable to the direction of the robot. So what we have now is if this value is true the robot will move forward. If this value is false the robot will move backward. And what we are doing here in this program is that we would like to first move in one direction and then move in another direction - in the opposite direction. We will use a block that is called logic. We will take the value form the first movement. We will have the logical operator work on it and we will chose not in this way. When the robot is moving forward initially then it will moving backward as a second step. And if it is moving backward initially it will be moving forward as a second step. So we have this program. Now we can sellect all the blocks without the logic and click edit, make a new block and call this block: AlignWithDirectionForRecording. Finish. If we now open this block we see that we have this logical value passed as a parameter to the whole block. And we will just take the other part of the program edit here. Connect it as a separate thread. And now connect the direction of the motor C to the initial value.
And the same rule applies for changing the direction. The same rule applies for Motor C, so if we are moving forward initially then we should be moving backward at the end. And if we are moving backward initially we should be moving forward at the end. We will take this result, the opposite of the result and attach it to the direction. And now we have now a very, very powerfull block for aligning. And we can use this block in the following way.
If we now select for this align with direction block that we want to move in backward, we must leave this value valse so we are not checking this checkbox here. And the robot will be aligning to a line that is behind the robot. Let’s see this.
You should now be feeling quite comfortable with aligning to green and to black lines. It is the same logic to align to other lines with other colors. Every year at the competition we have got different lines and the purpose of these lines are to help you learn where exactly is the robot on the field at a given moment. Just to make an even stronger case here. Let’s take a look at the missions from the last video and try to count how many time we have aligned to green or black lines.
Courses and lessons with this Tutorial
This Tutorial is used in the following courses and lessons
FIRST LEGO League Competition. Constructing and Programming a Robot Base
This course if used by teams, mentors and students to structure the preparation for the Robotics Game of the FIRST LEGO League Robotics Competitions. One thing that is common each year at FLL is that experience matters a lot. Our goal with this course is to quickly bring new teams up to speed with experienced teams and to share some new tricks, patterns, constructions with the more experienced teams.
- 42
- 249:53
- 10

Simple following and aligning to lines and borders
Before looking at the way we do follow lines first we have to make sure the light/color sensors are covered. The next video is a classic NXT light sensor covering, but it also applies directly to EV3.
- 11
- 5
- 1
- 3d_rotation 0